Craigb
-
Posts
165 -
Joined
-
Last visited
Content Type
Profiles
Forums
Classifieds
Tip Site Directory
Blogs
Articles
News
Arborist Reviews
Arbtalk Knot Guide
Gallery
Store
Freelancers directory
Everything posted by Craigb
-
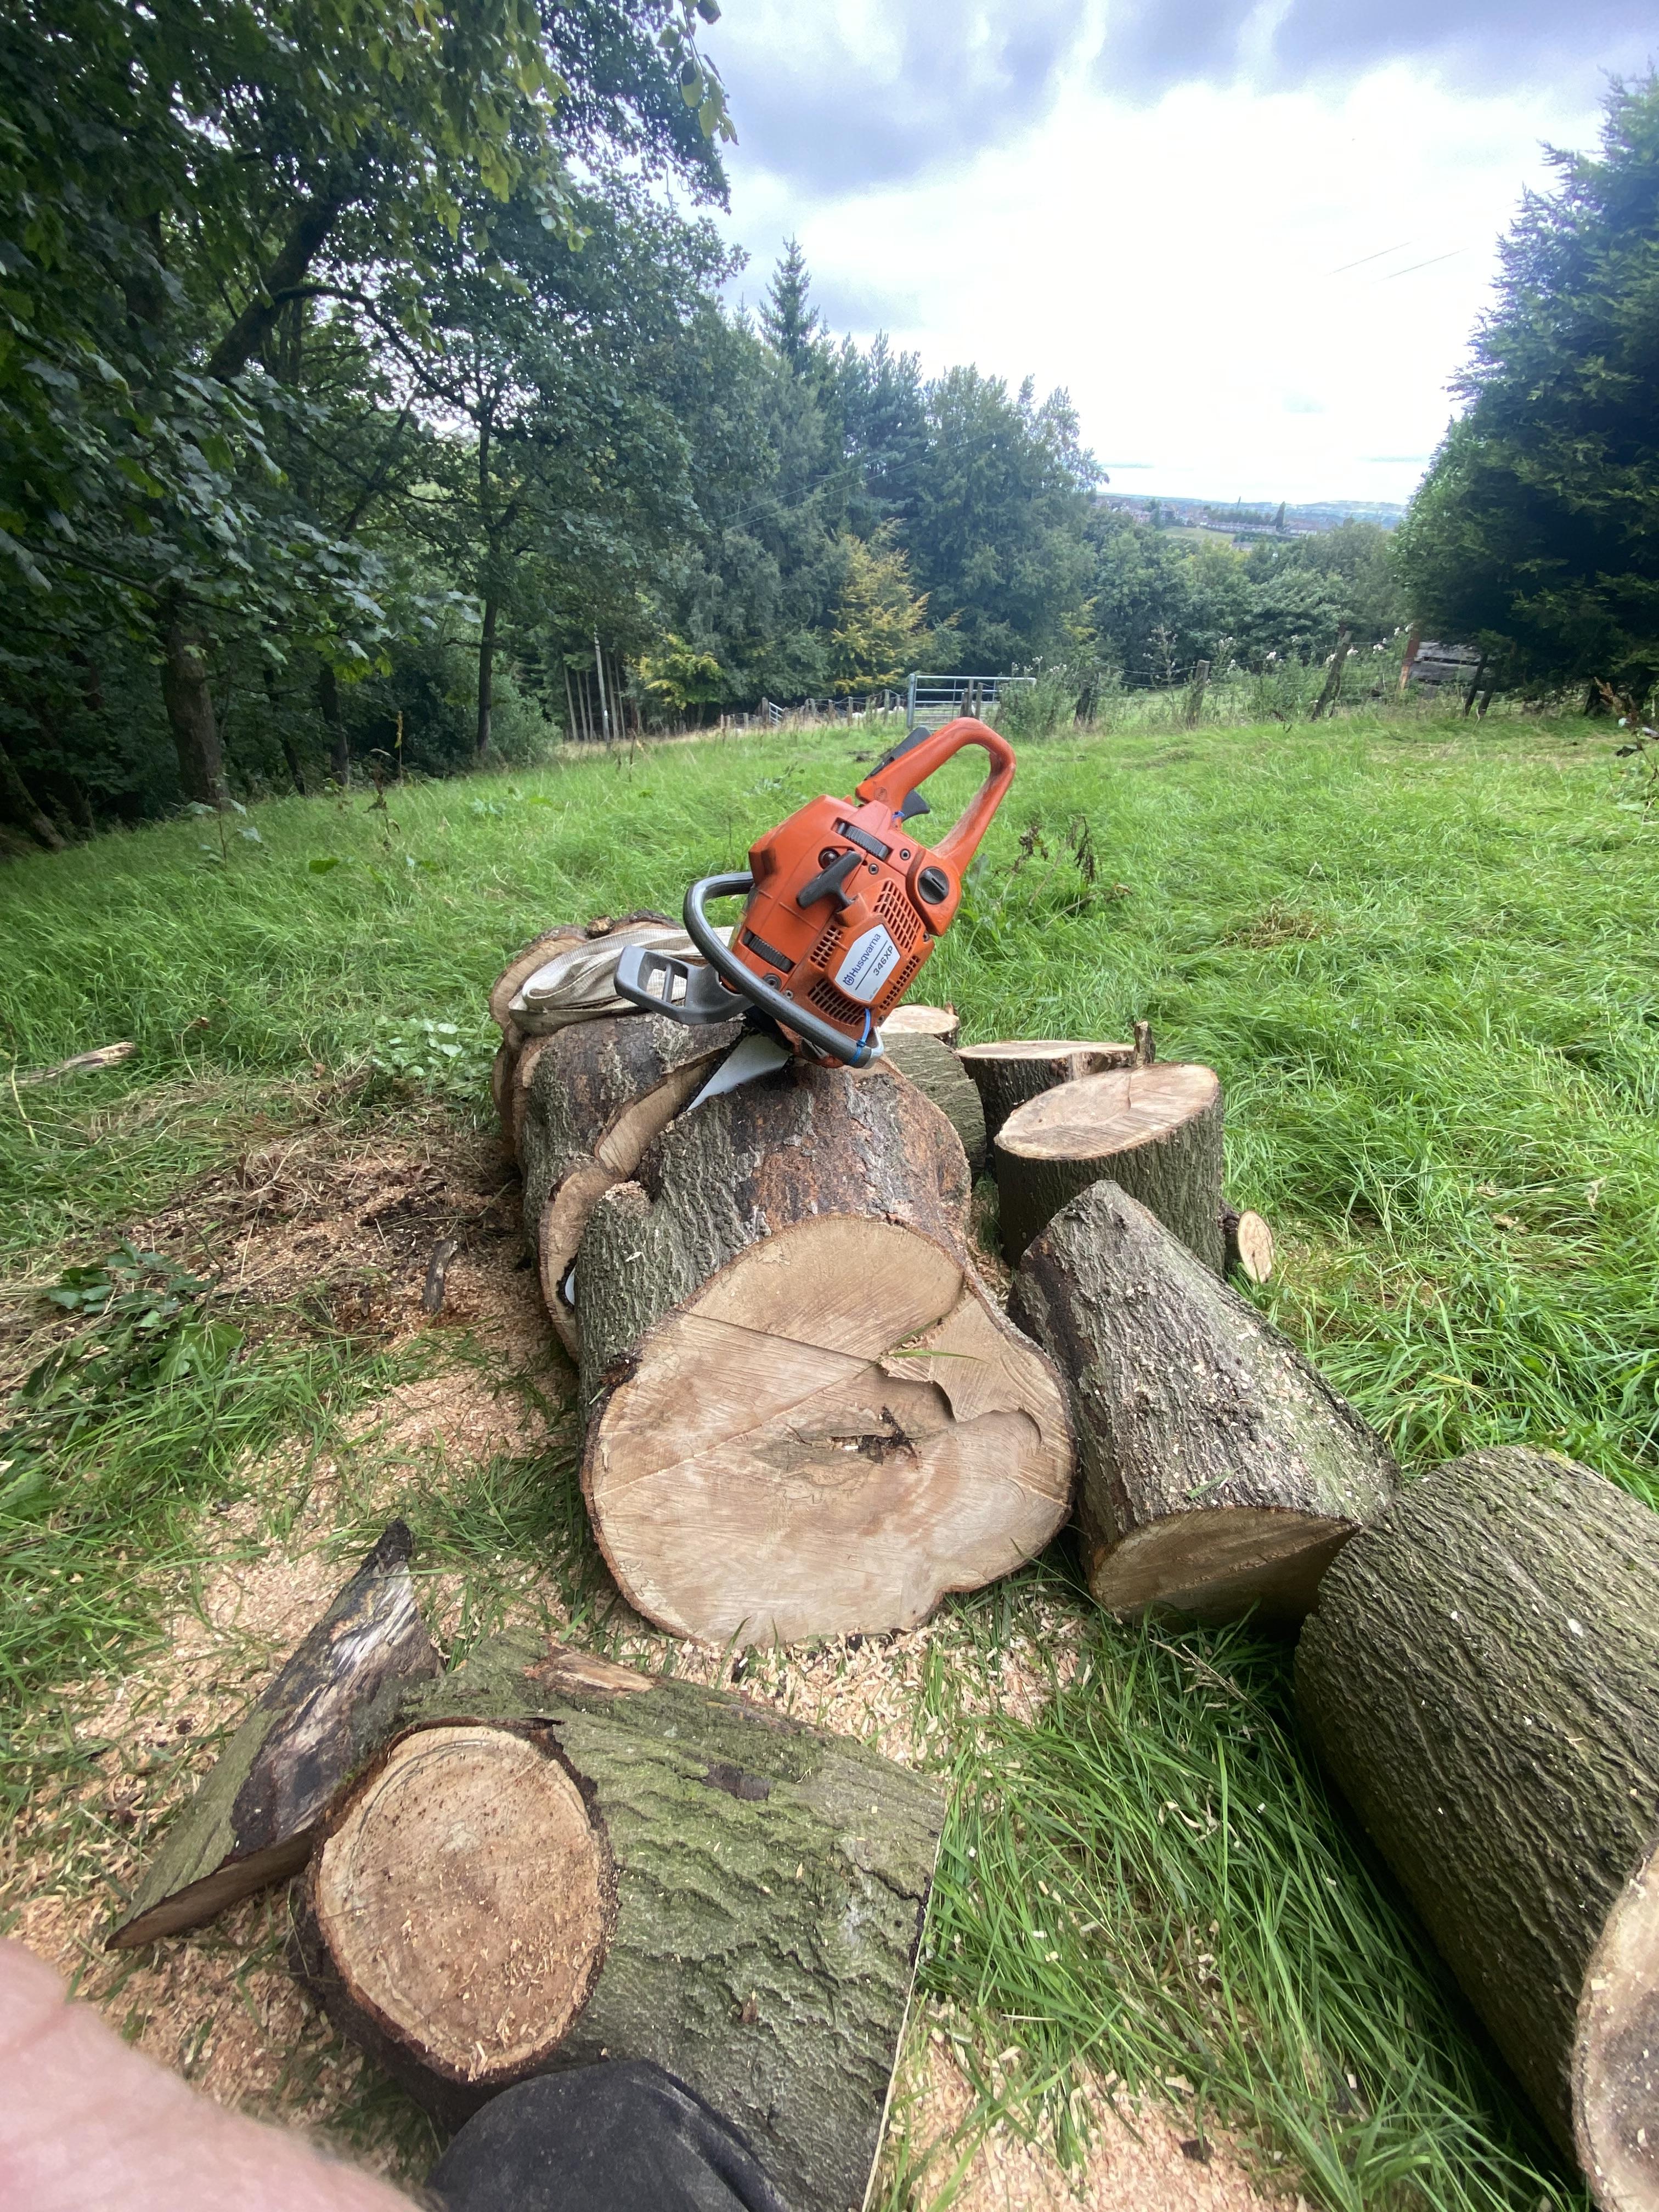
I’ve tried to shoot the flow to the back because that is where we want it.
-
Did some porting on a 346. Just the lowers for now and just one of them before the obvious gets pointed out. 😉 This is my first attempt so go ahead and get roasting me.

-
Any tree companies in Huddersfield or surrounding area looking for employees please message me.
-
Thanks, haven’t even started this thing but that’s a good point about the winter sun.
-
Now just in case your bored with the tv I’m doing a full rebuild on YouTube. Get your Yorkshire dictionary out though.
-
I printed off all the exploded diagrams with part codes for it. Partstree website. Cross referencing these they can be found, as you said on all sorts of machines. Disc cutters brush cutters etc. many thanks for pointing me down this route.
-
I’ve just acquired a 385cd. A quick look at the usual part sites makes it seem like I’ve more chance of getting hens teeth than spares for this thing. Can anyone point me in the direction of somewhere that carries bits please. I hear they are still made in Brazil, is that the case? Are there any other saws with more readily available parts that I can use?
-
I removed the baffle and let the pipes in till they hit the roof of the muffler. I’m still getting back pressure which is good and the saw runs slightly cooler and much nicer now. Good learning curves start with a student who wants to learn and teachers who are happy teaching.

-
We weld 316 dairy pipe with no filler wire
-
Now you know a guy in England who can do it 😉
-
home made? It makes such a difference to the saw.
-
It definitely won’t fall apart. You could mig them on by doing it slowly. Bzzzz stop bzzzz stop bzzzz stop etc. in effect putting tacks on tacks as you worked round the pipe.
-
As a coded welder by trade I’m quite ashamed to say no, it’s tig. The weld across the front is from where I cut the bumper off and it split when I drilled the holes. It was piss thin and needed building up from the edges in. Round the pipes is tig also but with silicon bronze wire usually used for oxy brazing, but as you can see it can be tigged. Definitely not my best work but it isn’t coked up inside the pipes and it definitely won’t fail when in use. also I brazed the pipes on as the muffler is mild steel but the pipes are stainless. No cracking across the weld then.
-
So. New clutch bearing, new coil and a new carb. Prior to that a case split and new bearings and seals. Gasket delete and we have 180 psi of comp. The cylinder wanted a hone as I had slightly elongated the cylinder getting scuffs and piston transfer off. Now it’s run in it has 185 psi of compression. I also gave it a muffler mod and now the saw runs superb.

-
Thank you very much
-
Do they do one or do I need to use one off another machine, if so which one?
-
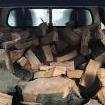
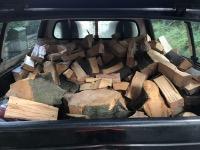
Going to build one to dry firewood. I know it’s a shit time of year to be doing anything solar powered as winter is round the corner but has anyone any experience building one? I understand the basic premise of how they work but is there any rookie mistakes that have been made? ill keep this thread up to date with pictures as the thing progresses.
-
346xp ne. Gasket delete and a new muffler I welded a 20mm dia pipe into at work. Is the pipe too big? It also has 200psi of compression now. Runs and cuts great. But I’ve done what only other men can dream of, the impossible, the chain creeps ever so slowly in the wrong direction at idle, corrects when revved though. What’s your thoughts?

-
Just so you know I’m no expert but I have had some good schooling on this forum. I am indeed removing the gasket to increase compression. You don’t need to do anything else to the saw other than make sure the gases can escape, aftermarket muffler or you can open up your own muffler. This entry level work is like putting a putting a cone filter and a performance exhaust on a xr3. Anyone can do it but the difference is it works. No fancy porting required.
-
Anyone used this for base a gasket? High temp resistance.